Continuous Deployment: CI/CD for iOS on Azure DevOps (Part 2)

I am the Technical Director and Co-Founder at Royale Cheese.
In the last part we created a build using the pipeline feature of Azure DevOps. In this tutorial we are going to use the Azure's Release pipeline to push the build to the App Store. This is the continuous deployment part of CI/CD.
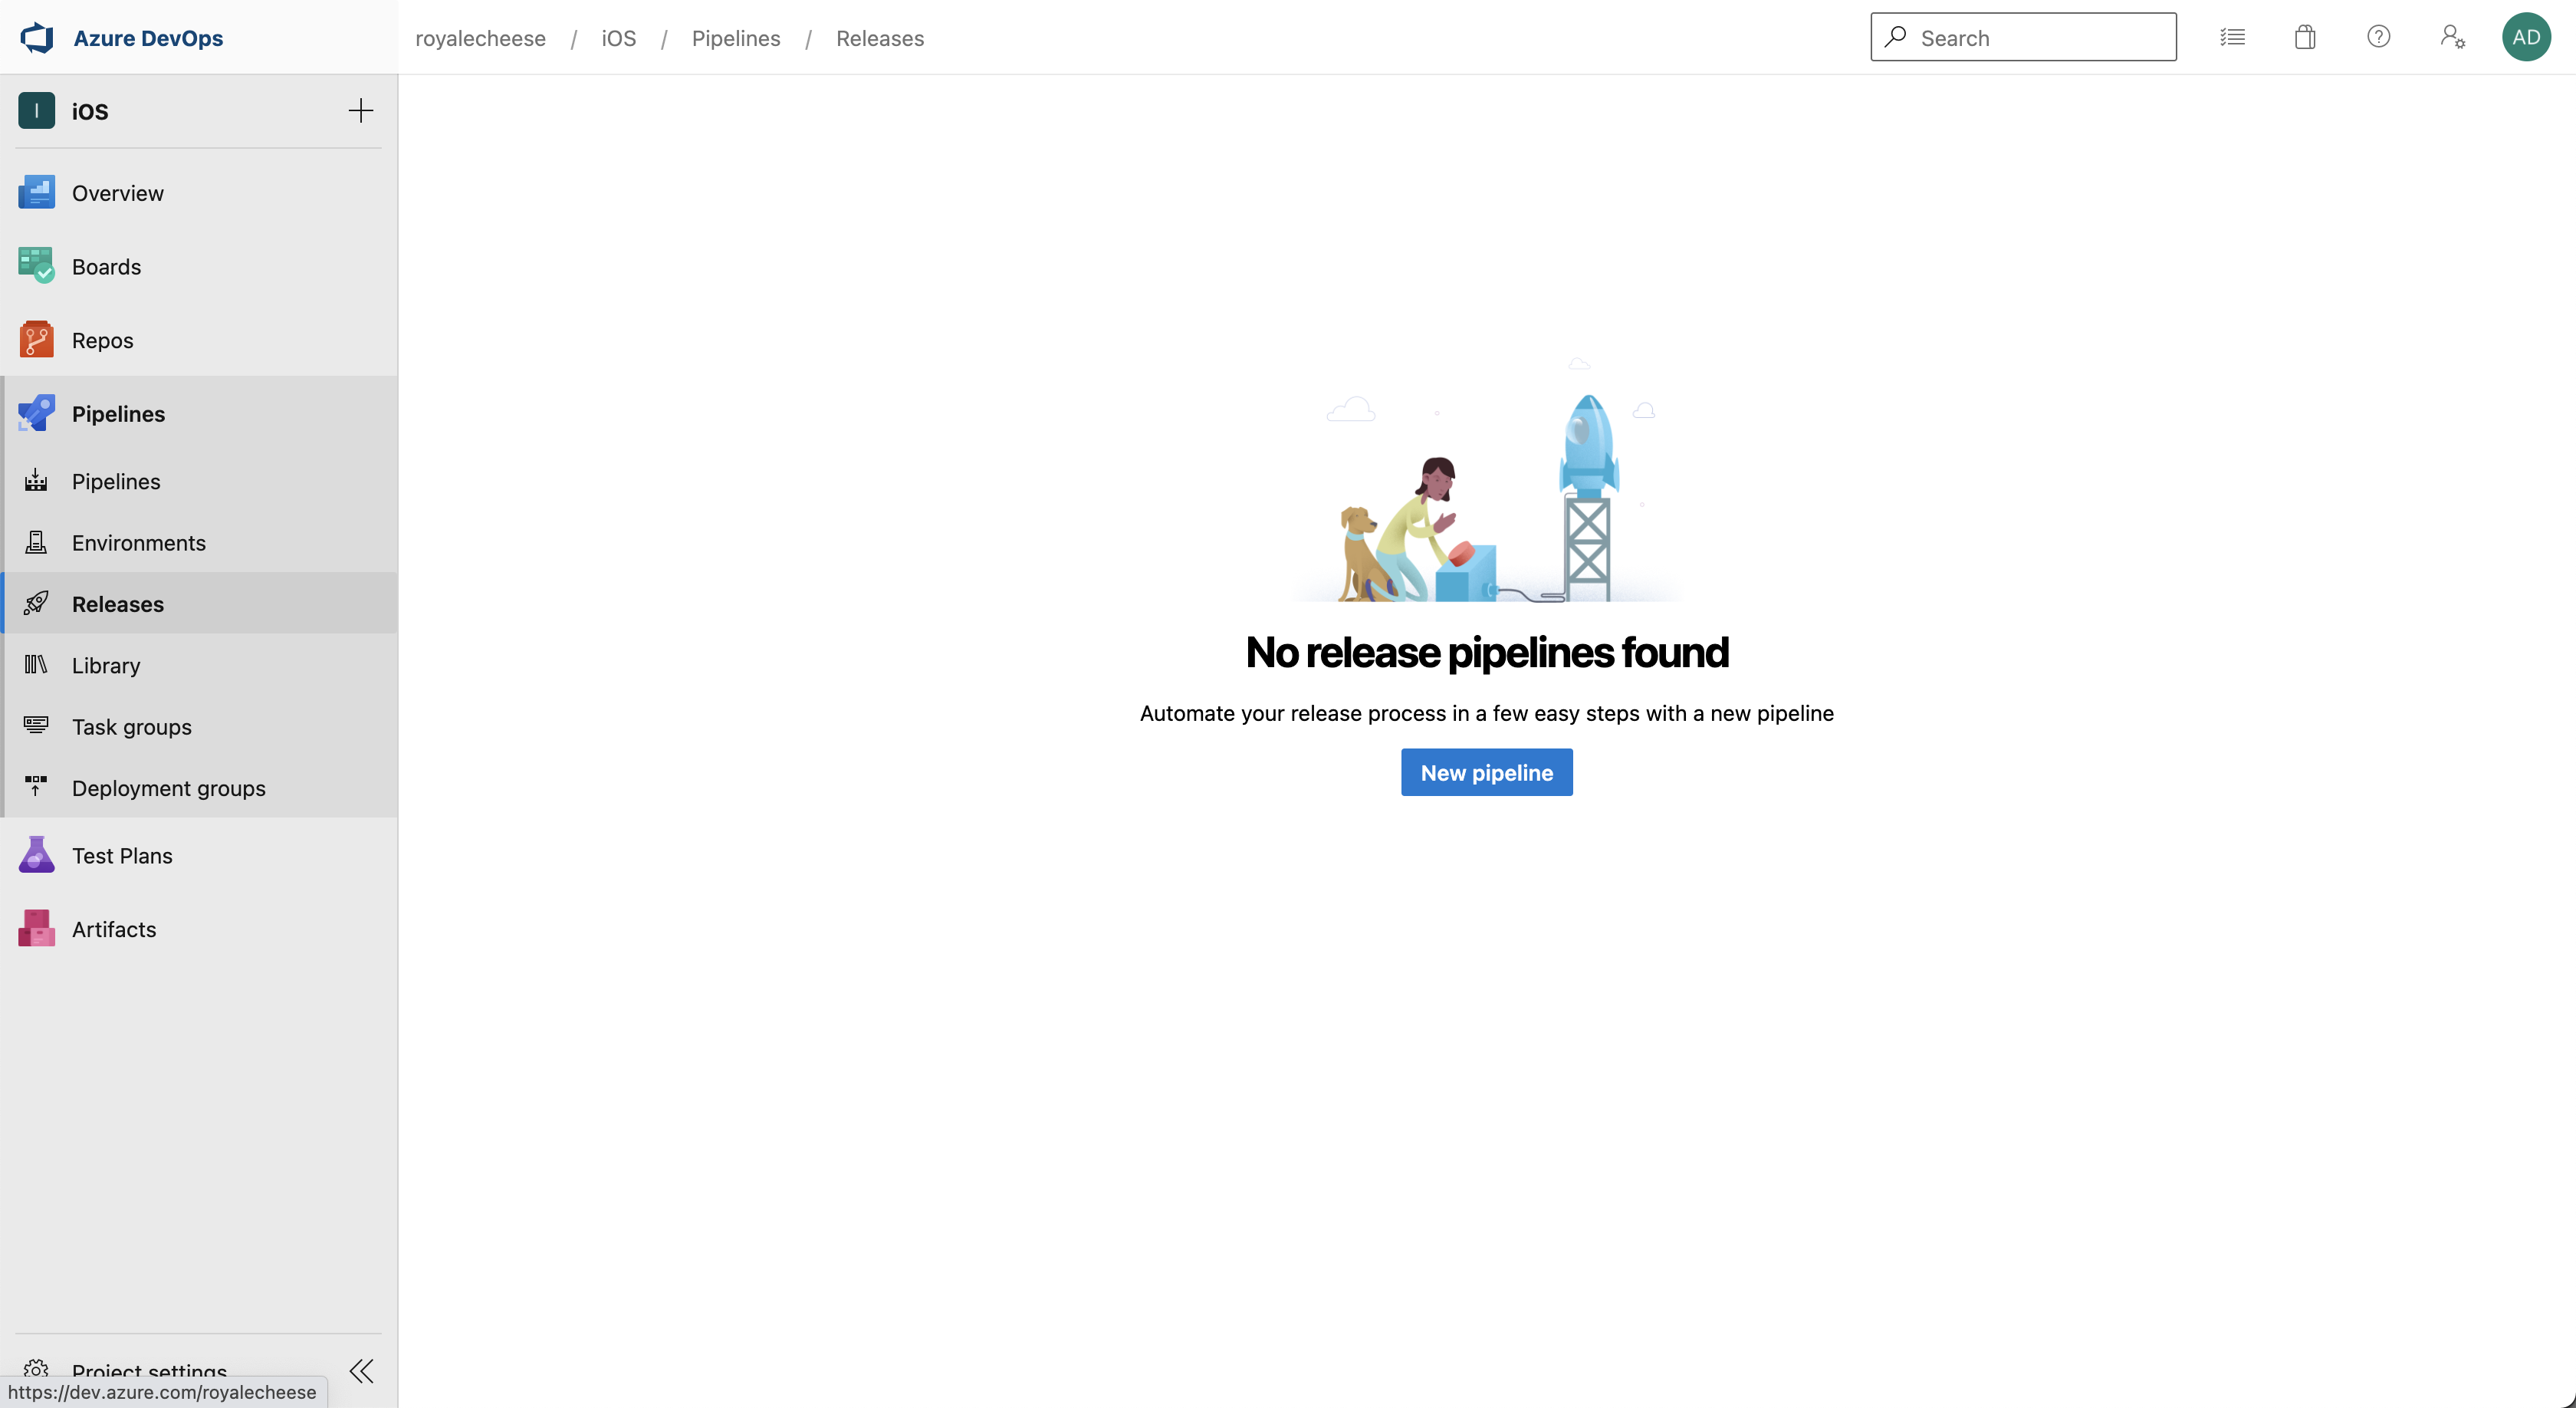
Open your project on DevOps and select "Releases" under the "Pipelines" section in the left panel. Select the "New Pipeline" which will open up a dialog for selecting a template.
Template Selection & Setup
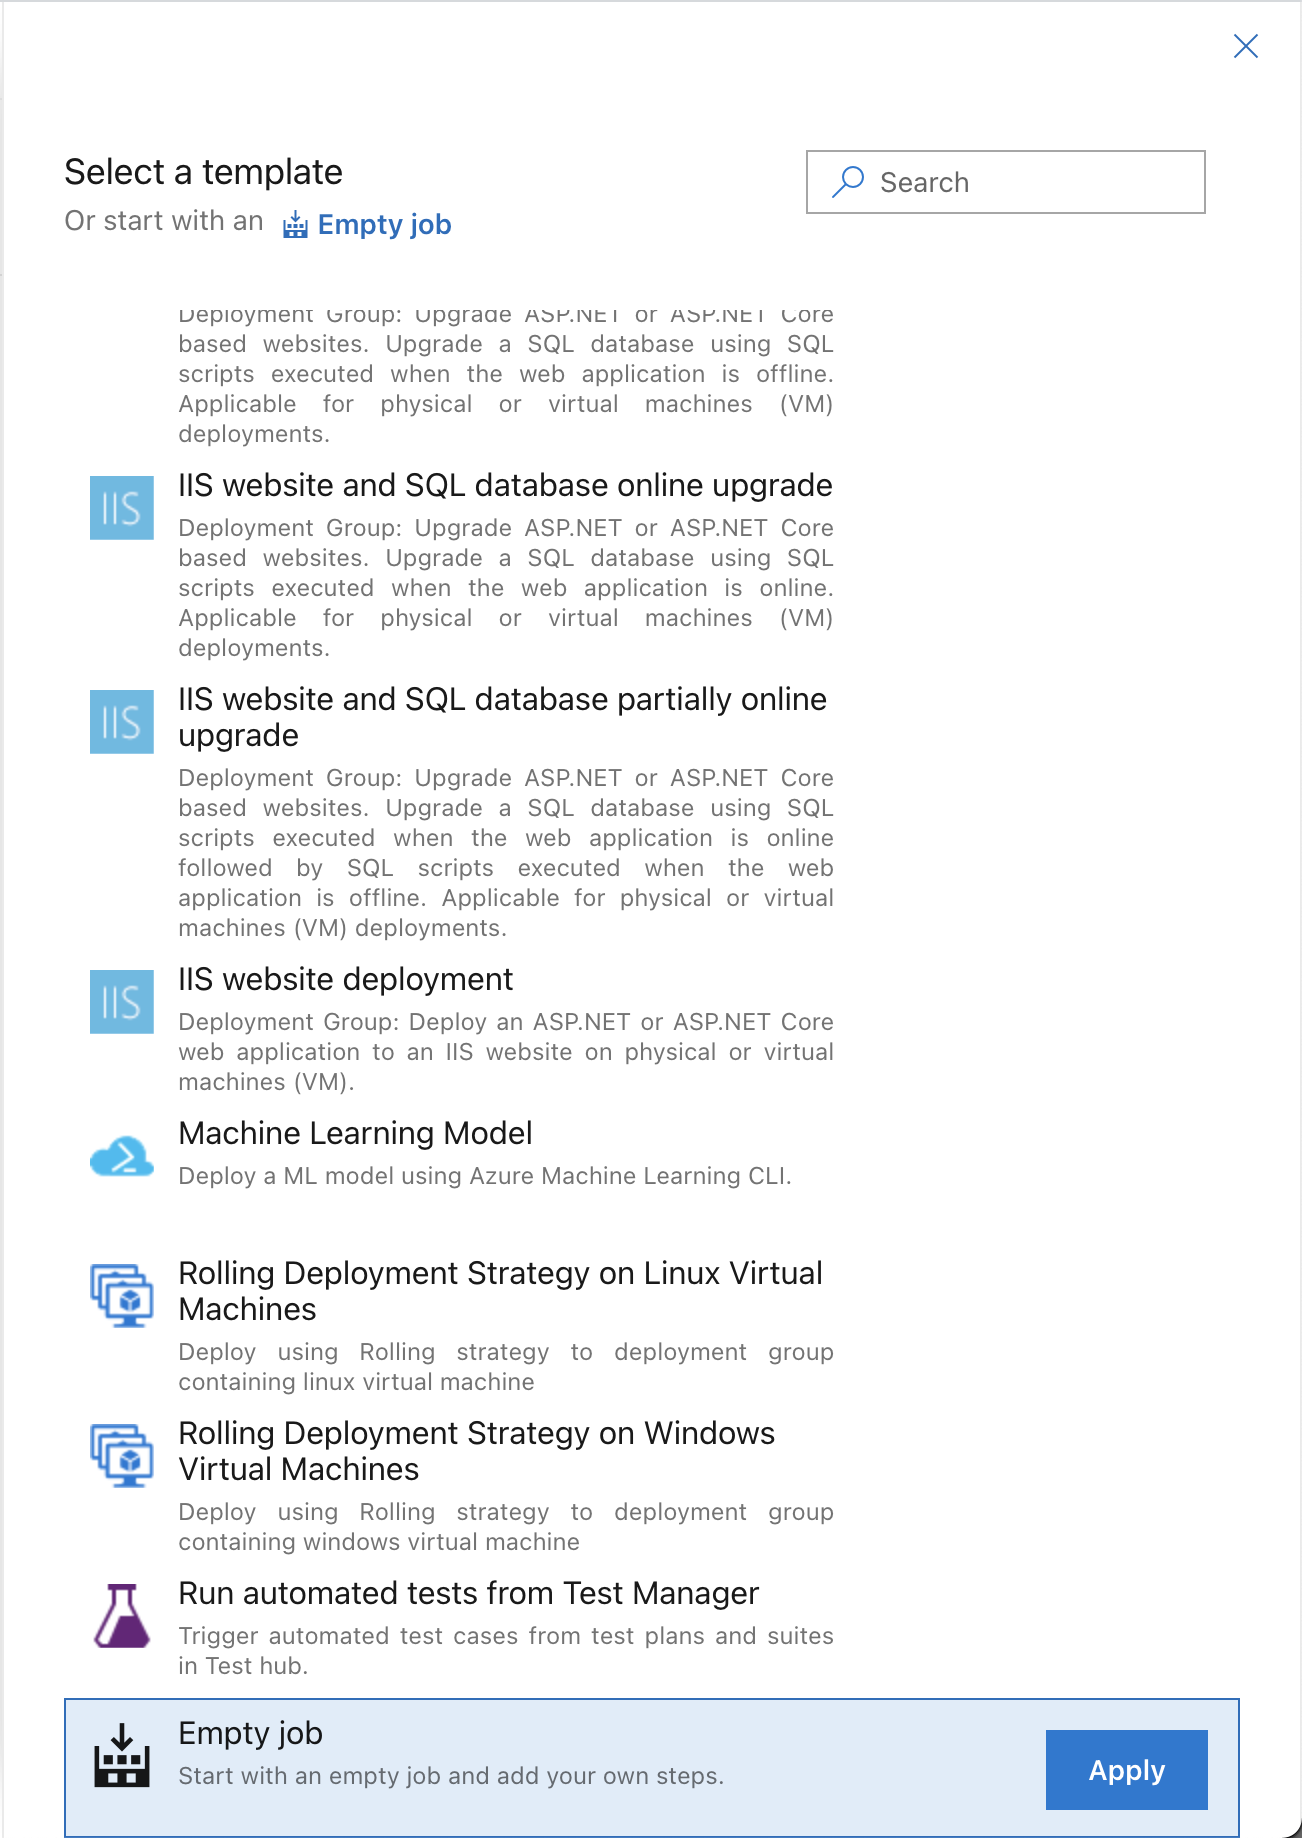
We are going to select an empty job, since there is no pre-defined template for uploading a build to the App Store.
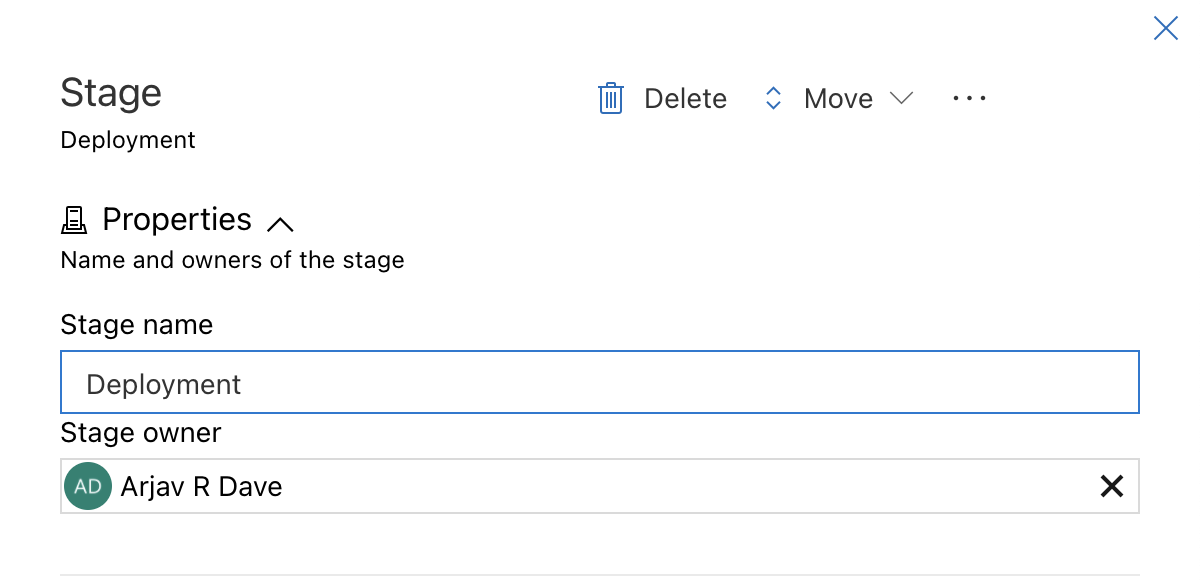
Enter the stage name as "Deployment". It can be whatever you want but for clarification purposes I set it as Deployment.
We will now select an Artifact which we want to upload. An artifact is something that is created whan an Azure Build Pipeline runs. So in our case the artifact is the one that is generated from our previous tutorial.
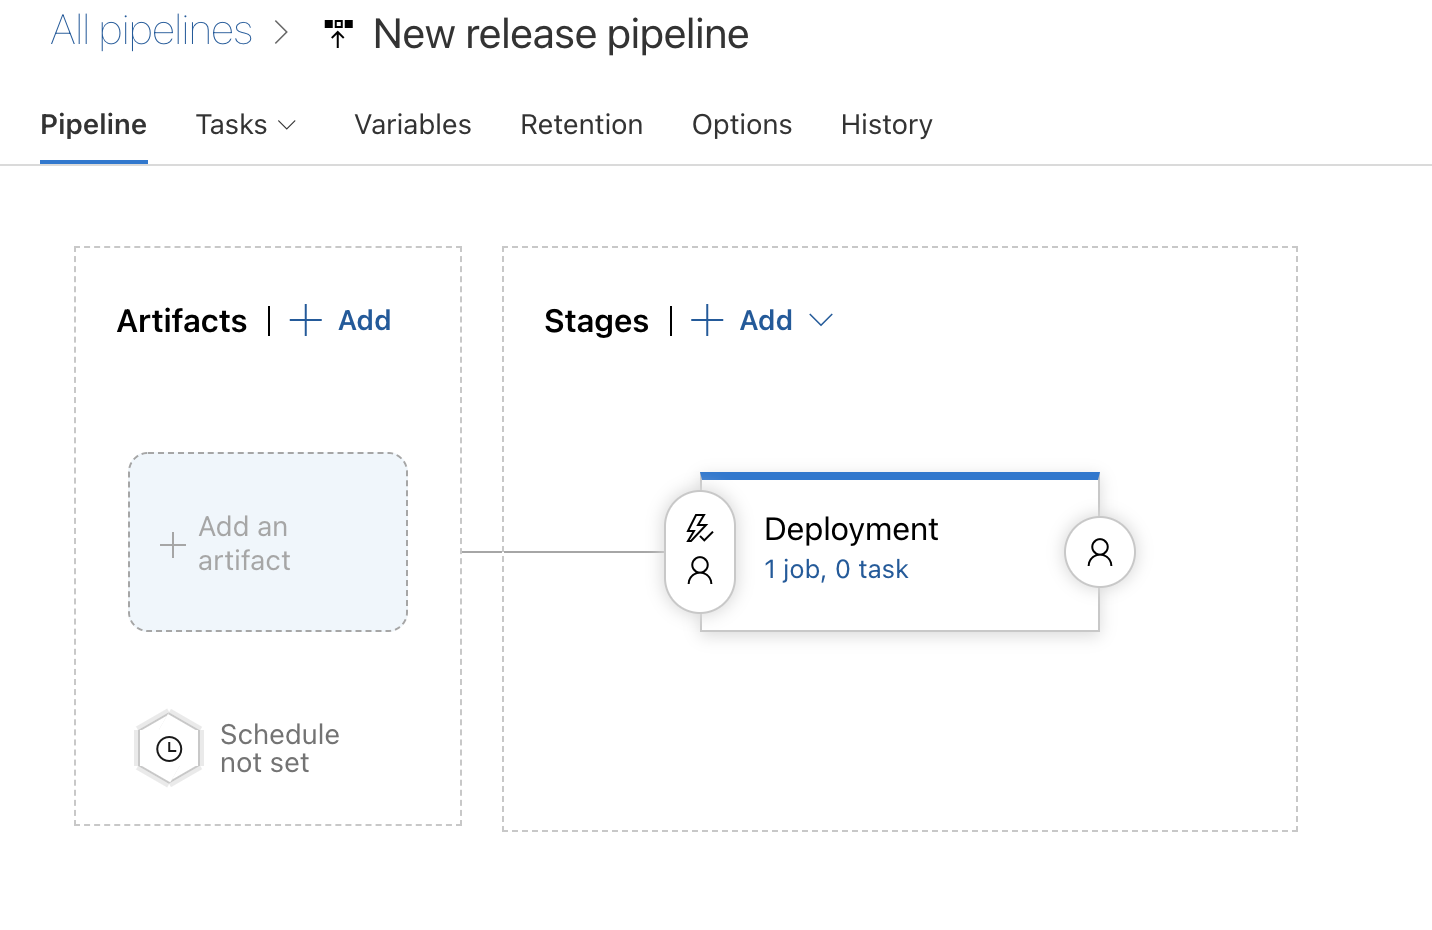
Click the Add button besides the Artifacts label or click on Add an artifact. This will open a new dialog on the right.
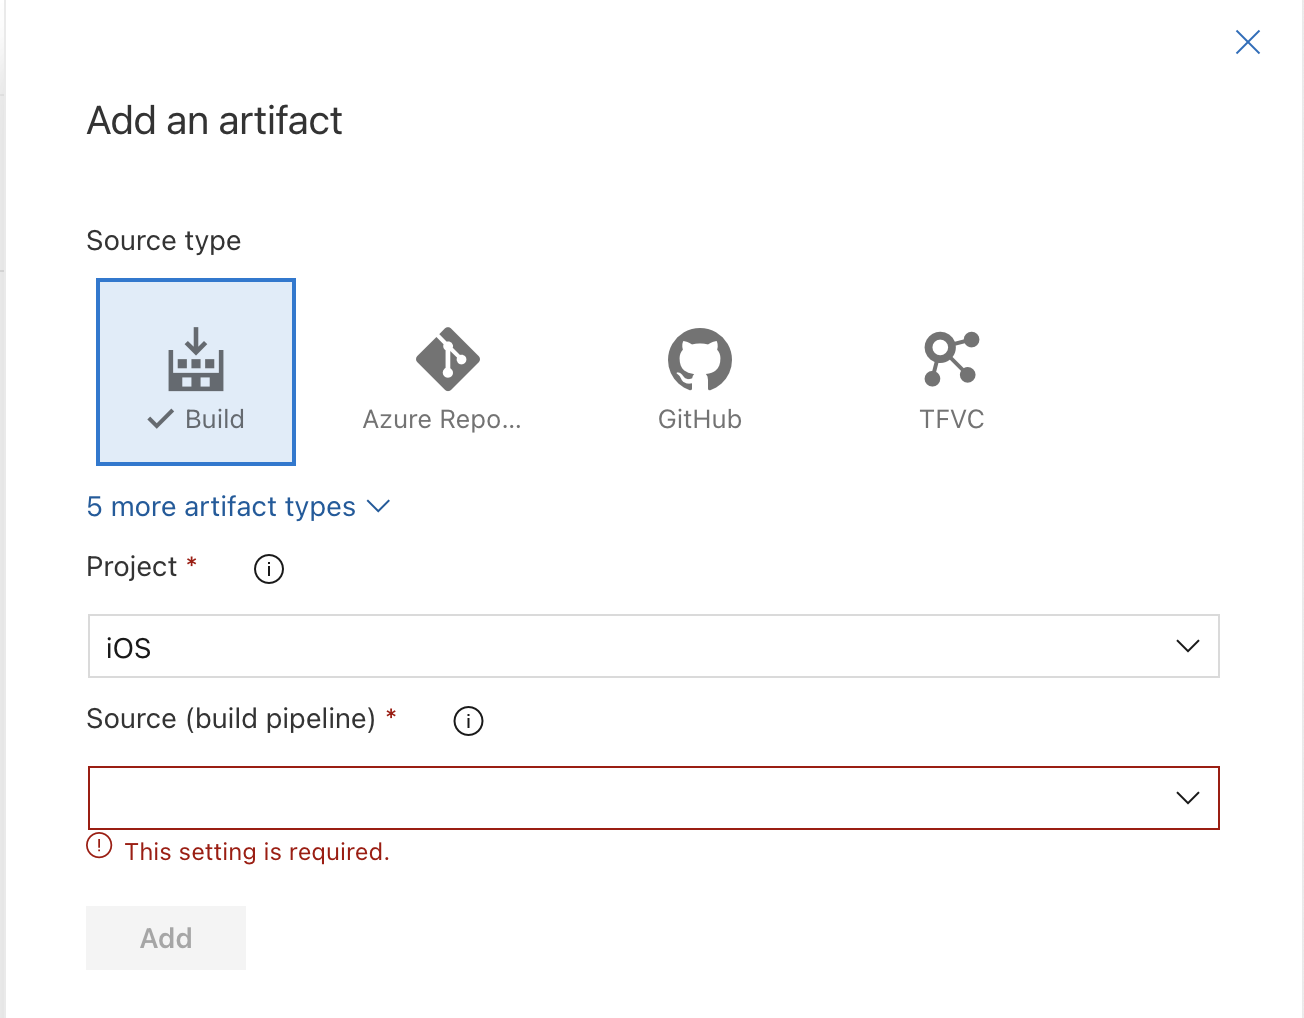
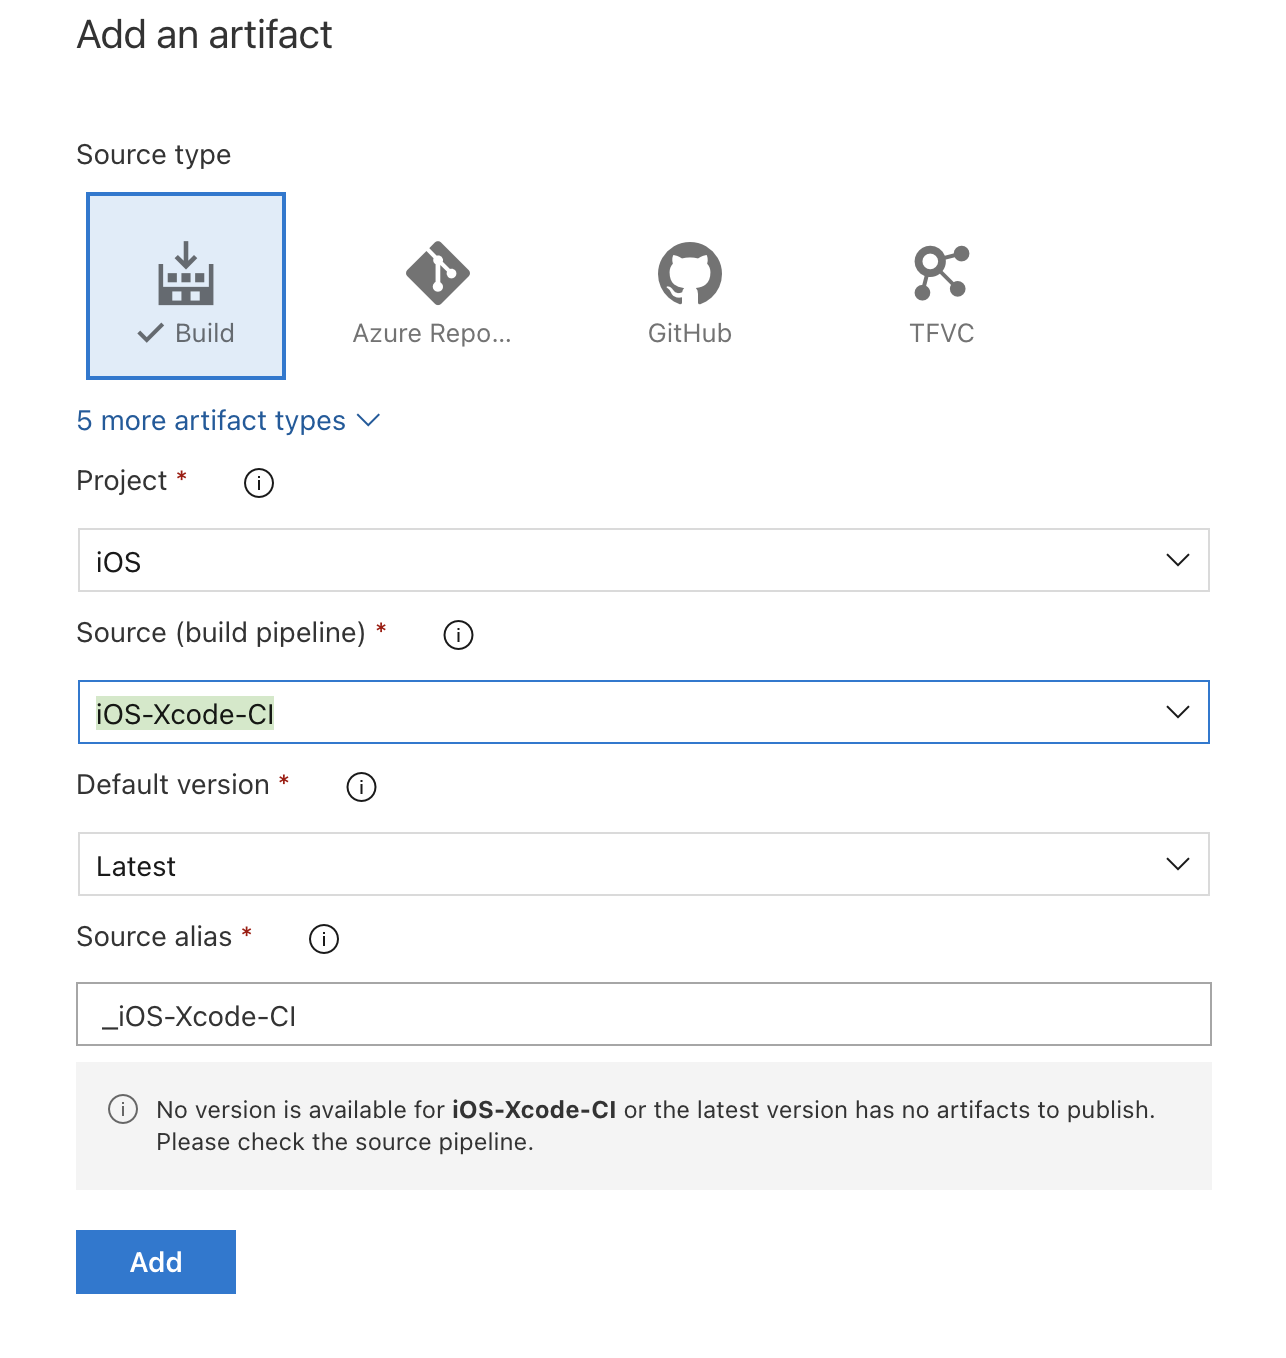
In the drop down you will see our CI setup from the last tutorial. Select that and click the Add button.
After adding the artifact our release pipeline will look something like below.
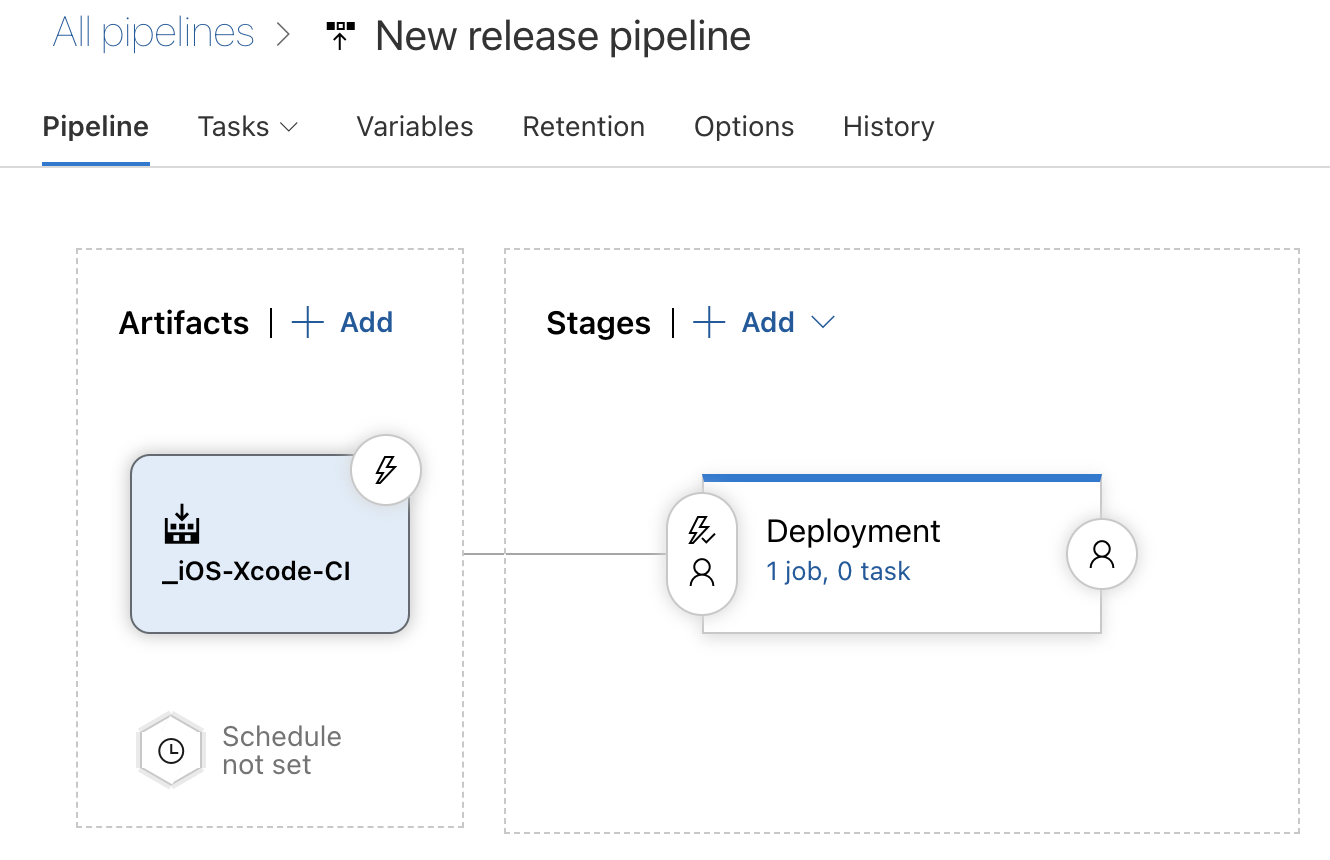
Now select the lightning icon for the artifact we just added. This will open a dialog on the right which will have a setting to enable/disable the Continuous Deployment trigger. When the build trigger is enabled our release pipeline will automatically start when a new build is completed by our build (CI) pipeline. We are not going to enable the Pull Request trigger.
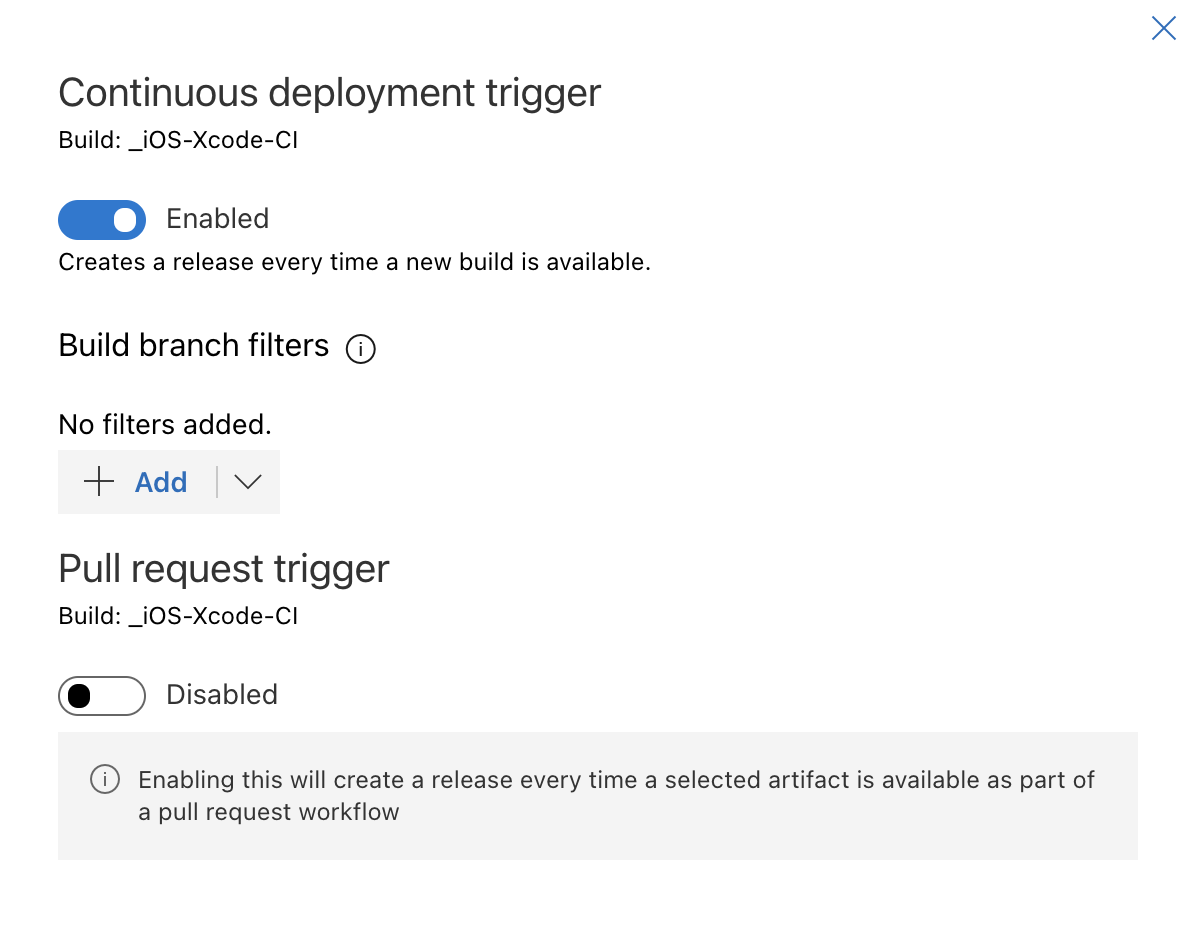
So far we have setup the pipeline to start automatically when a new build is available in our build pipeline. We have also setup a Deployment stage to which we will add tasks for the actual deployment in the next section.
Deployment task
Select 1 job 0 task hyperlink which will switch to the Tasks tab. Select the + plus besides the Agent Job to open a list of new tasks. Search for Apple App Store. If you don't see any tasks you will have to install the application from the Marketplace. Once installed when you search for Apple App Store again you will see a couple of new tasks as below.
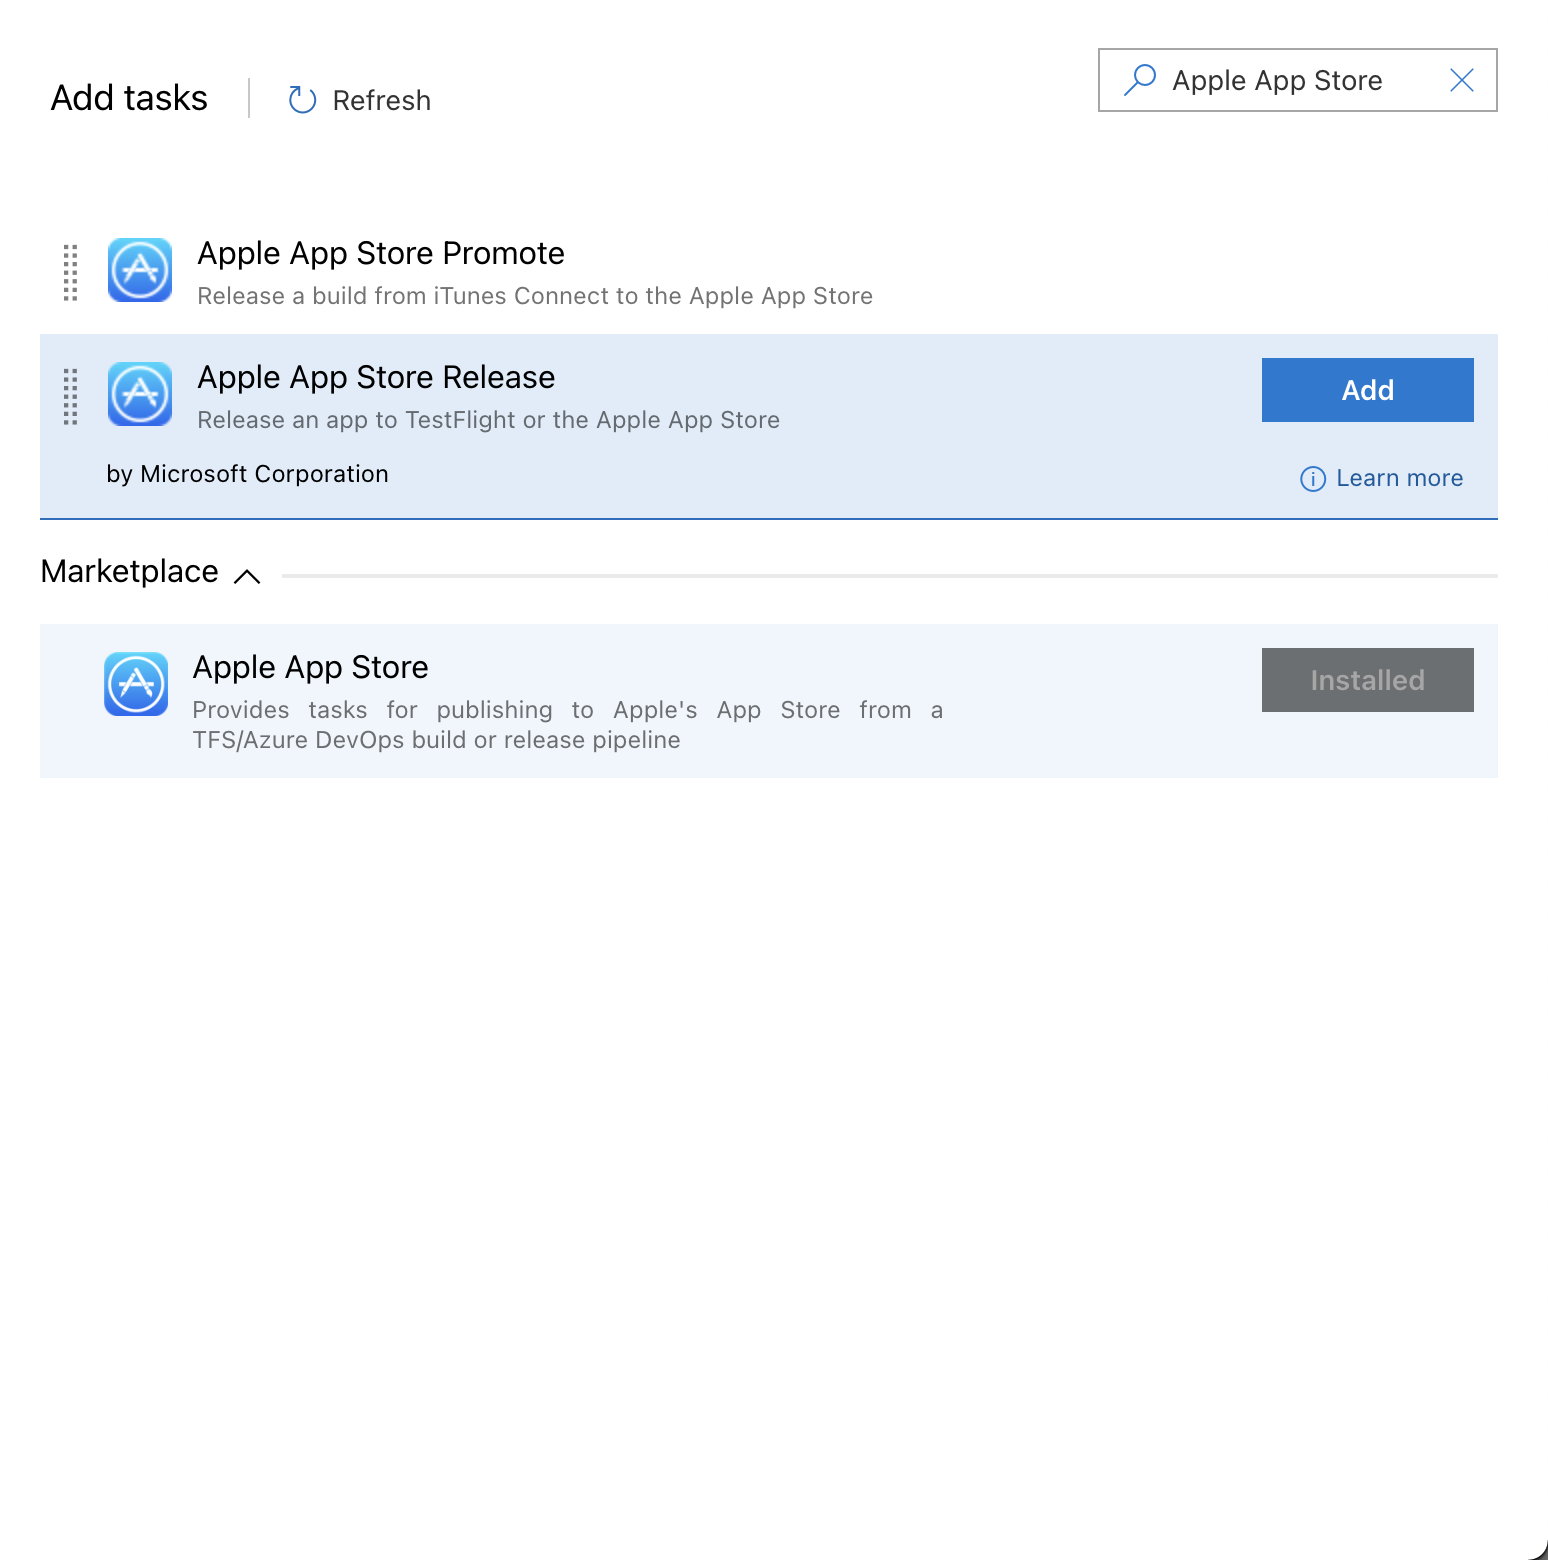
Add the Apple App Store Release task. It will add the task which requires a Service Connection. A service connection is basically a connection to the Apple's itunesconnect website.

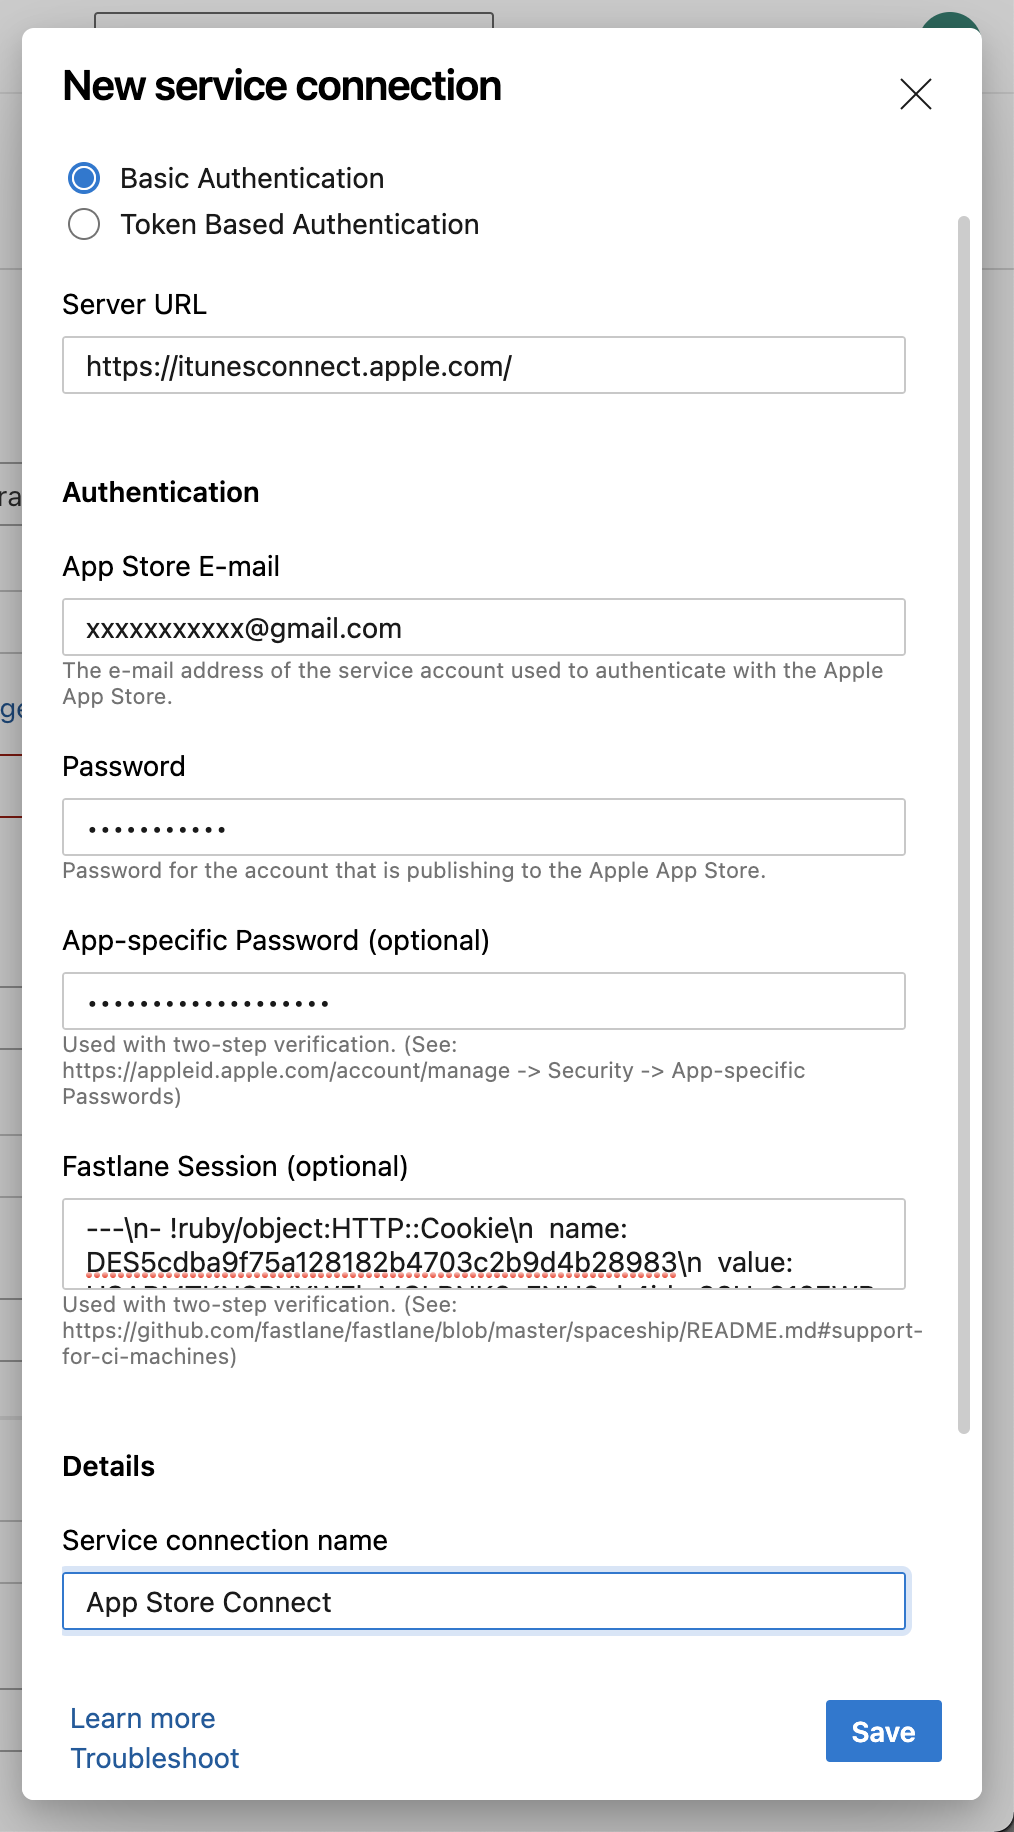
We will now add a new service connection. Click on the New button besides Service Connection which will open a new dialog. In the new dialog enter the email & password. Even though the app-specific password and Fastlane Session are marked as optional they are mandatory to automate the process of uploading the build to App Store.
App-Specific Password
To create app-specific password visit https://appleid.apple.com/account/manage in a new tab and scroll down to the security section. Click on the Generate password... link below the label APP-SPECIFIC PASSWORDS which will open a dialog. Enter any name for the label and click Create. Copy the generated text and switch back to our Azure DevOps tab and paste it under App-specific password field.
Fastlane Session token
As a prerequisite you should already have the fastlane installed on your machine. Fastlane is required to generate the session token so that our cloud machine can login automatically without our intervention. Time to open the terminal and fire some commands.
fastlane spaceship -u xxxxxxx@gmail.com
You will will be asked for your password and then a 6 digit code as a part of two factor authentication. It will generate the session token for you and will ask if you want to copy it. Press 'y' and then switch to your Azure DevOps tab and paste the session token in the Fastlane Session field.
Enter the service connection name as per your preference and the description if you need it.
Publish details
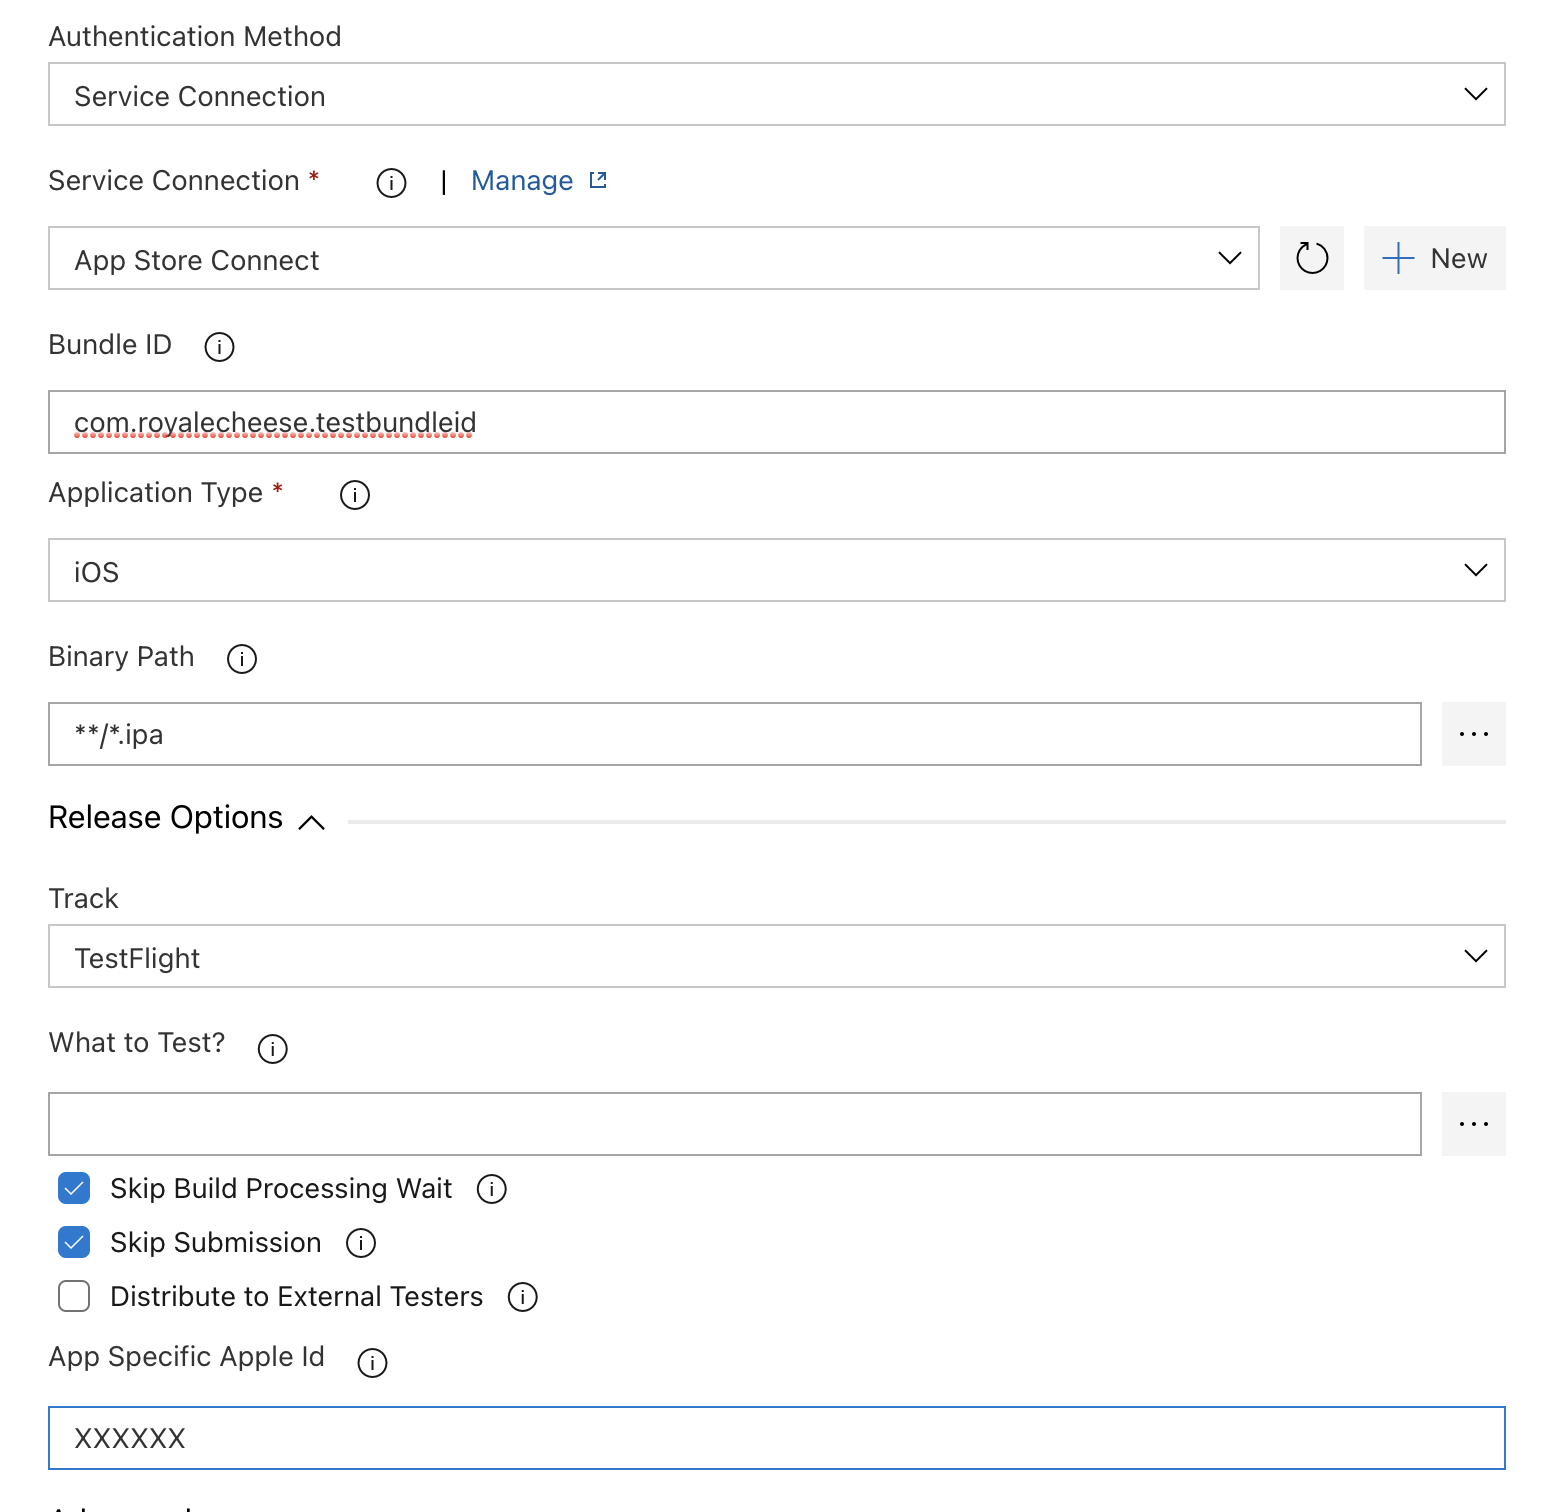
You will see the service connection now set. Next enter your app's bundle id. Select Skip Build Processing Wait and Skip Submission so that our pipeline doesn't wait for the build to be made available, otherwise it will consume precious build minutes. Lastly enter the App Specific Apple Id which you can get by logging into https://appstoreconnect.apple.com and clicking your App to view it's details and then finally visiting App Information under General section.
That is it guys. Your hard work will finally pay off when you run your pipeline and see the green ticks going one by one as the tasks are getting completed. This would be one of the best feeling in the world.
Do you have any suggestions, optimisation and/or just want to connect let me know in the comments below.